

Whether you're planning a small party of 50 attendees or a festival of 5000, your ultimate goal and responsibility is to sell tickets and make sure people are in attendance, all within budget.
Failure to do so reflects badly on you and in the eyes of sponsors, the entertainers, and customers that did attend your event, ultimately putting your brand in a negative light. So we’ve put together a shortlist of steps to guide you in the right direction.
Step 1: Find a reliable ticketing platform
To successfully sell tickets online, you will need a digital ticketing platform for your potential event-goers to discover your event and what it’s about. For most event planners and organizers or anyone just starting out, they don’t have the resources or time needed to build a ticketing website themselves, so what do they do? Find a reputable ticketing platform with everything they need already in place, and the best ones are completely free to use. Depending on what type of event you’re hosting; small events, festivals, concerts, sports gatherings, what you need from a platform may be different, do your research to see which platform will benefit your needs the most.
Step 2: Decide how you want to get paid
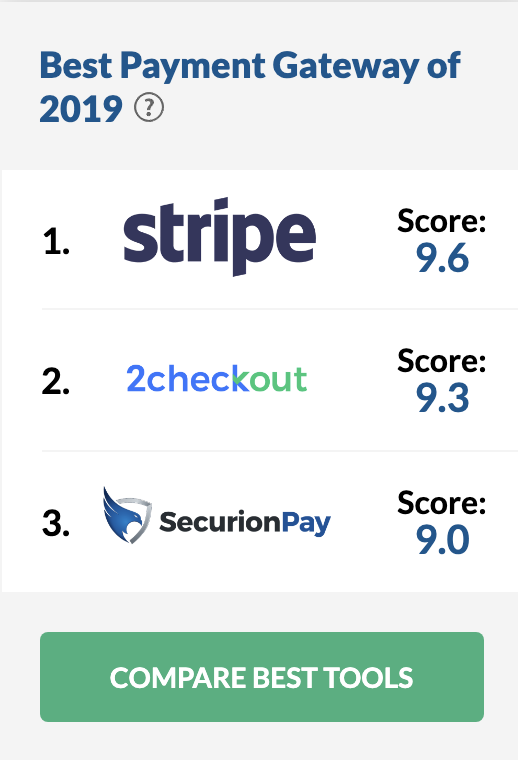
Before you create your event and start selling tickets, you’ll need to figure out how you would like to get paid. While most platforms use either Paypal, Stripe, Authorize.net, etc.. they are not all created equally. For instance, when some of these payment gateways are free to open an account, there are some added benefits to using one over another. Take for example Paypal and Stripe, they are both free to set up and neither of them requires a merchant account, however with PayPal, as a business, you may limit yourself on which payment types you’ll be able to accept from your those wanting to purchase a ticket. Paypal currently only accepts five forms of payment, and with stripe, there’s more flexibility to accommodate your attendees or customers due to the vast array of payment types. Other than credit and debit cards, they accept; ApplePay, GooglePay and WeChat Pay and many more. According to financesonline.com Stripe is revered as the best payment gateway of 2019.
Additionally, you want to ensure both your payment and ticketing platform has a good working relationship, more like a partnership.
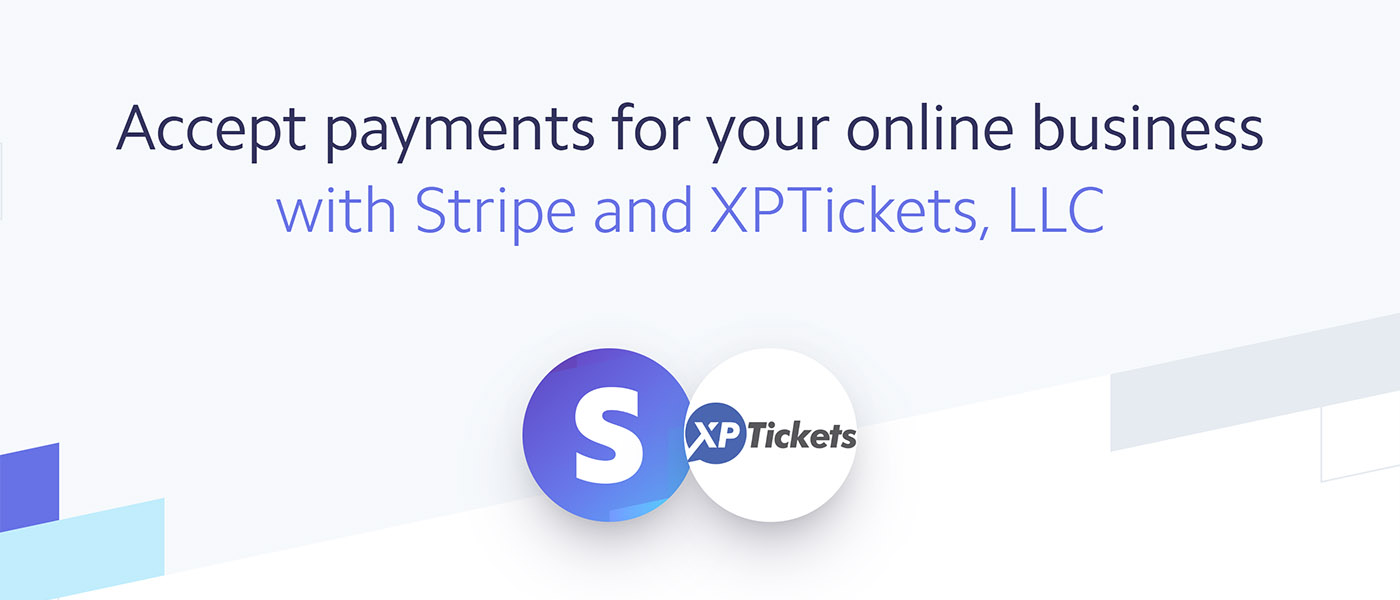
If there’s an established partnership between your ticketing site and your payment processor, that means even more for you! Take for instance XPTickets.com and Stripe, because of their partnership, when event planners use the site to create events and sell tickets, they get paid instantly!
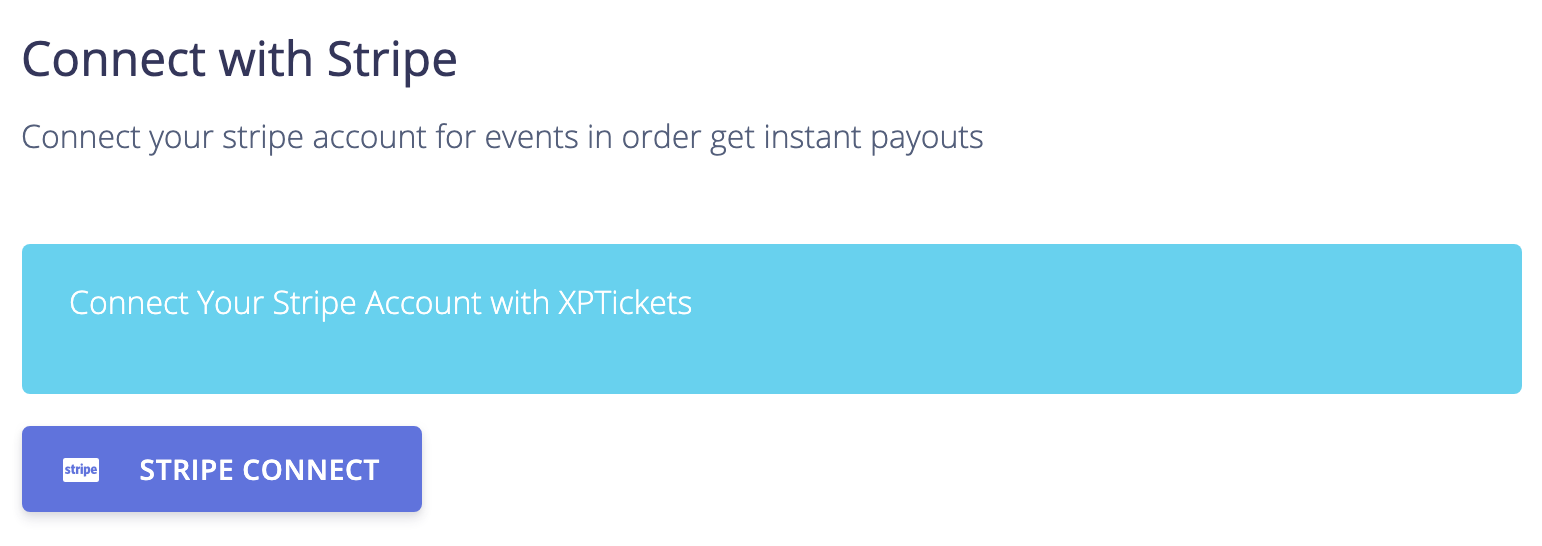
As soon as a ticket purchase is made, the money gets deposited into the organizer's Stripe account. And as icing on that event cake, another cool benefit about the Stripe & XPTicket partnership is, as a business, you are fully protected from bank disputes and chargebacks! So you keep 100% of your revenue 100% of the time! As an organizer, who wouldn’t want that bonus?!
While paypal may be the most recognized and a customer favorite, Stripe is leading the way to be the business favorite, being the most trusted and versatile. All factors to consider before creating your first event.
Step 3: Create your event description and add a picture
This may be one of the most critical parts of your event creation process. This is the first chance to make your event stand out and address any important information concerning your event. Of course start with the 5 W’s: Who. What, Why, Where, and When. Start by setting the tone of what you want your target audience to know about your event and what experience they might expect to get from it, imagine you are speaking to them when writing your event description. Be clear and concise but also brief to prevent from losing anyones attention. It’s always beneficial to tell them why they’ll want to attend your event. If your event is a workshop or class, they’ll learn something. If it’s a party or celebration, they’ll have the time of their life. Describe your event in a way that people will want to purchase tickets and attend.
On most sites, you can fully customize your event page and use a little creativity. This is your chance to brand your company, cause, or even sponsors. You know what they say, "a picture is worth a thousand words." Use an enticing event image and make sure it is high resolution so whatever device is being used, it is shown clearly. If you do not have an image or illustration of your own, there are online sites that offer free stock images.
Step 4: Promote & Sell!
Once you have your payment method and event page created, you’re ready to start selling tickets. There are many options when it comes down to selling your tickets and how your target audience gets exposed to your event page. There are social media sites like Facebook and Instagram through post shares, paid ads or features, there are blogs and forums, it may be printed marketing materials like flyers or radio ads for local events, and the most time tested proven way to promote… word of mouth! You have to know where your audience spends the most time, once you do there’s no stopping the buzz and the beauty of promotion is, you do not have to wait until your event page is created to get the word out about your event using those methods! Once your event goes live, to boost sales offer incentives to your target audiences like early-bird discounts for pre-sale tickets or different ticket packages, for this, use a platform that offers multiple or unlimited ticket types.
Step 5: Track your success
An added benefit to using an online ticketing platform is it gives you the ability to track your sales and get insights on your attendees. In an instant, you have access to customer data and detailed reports so you understand your audience which will allow you to strategically optimize your sales process and have the best chance at maximum capacity come event day
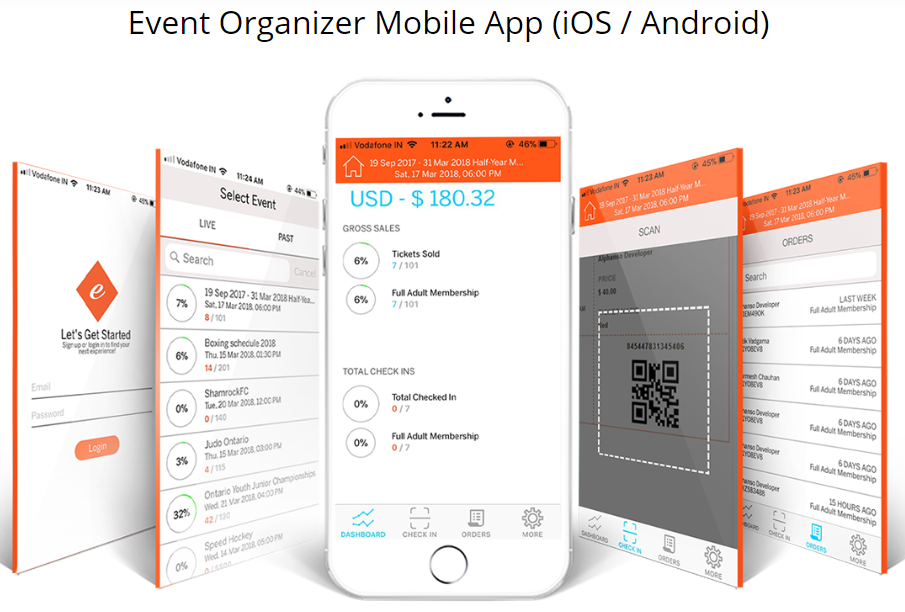
Step 6: The check-in.
With a ticketing platform, there are many ways you can decide to check your guests in at your event. You can do it the old-fashioned way and cross names off an attendee list - which you can download from your organizer account, with a printable pdf ticket that your guests receive at the time of purchase, or using your platforms mobile organizer app and check-in your attendees electronically with a touch of a finger. Whichever option you chose, using a ticketing platform streamlines the check-in process making it reliable and easy.
Step 7: Expand the audience for your next event
The most valuable thing you have after an event is over is the event data and attendee list. With this information you can learn more about your audience and get insights on how to make your next event an experience they’ll want to be a part of. You can also use this information to send email blasts about your upcoming events and offer discount codes and information. To help expand your reach, always remember to ask your audience to share with friends.
Interesting blog? Like it on Facebook, +1 on Google, Tweet it or share this article on other bookmarking websites.